
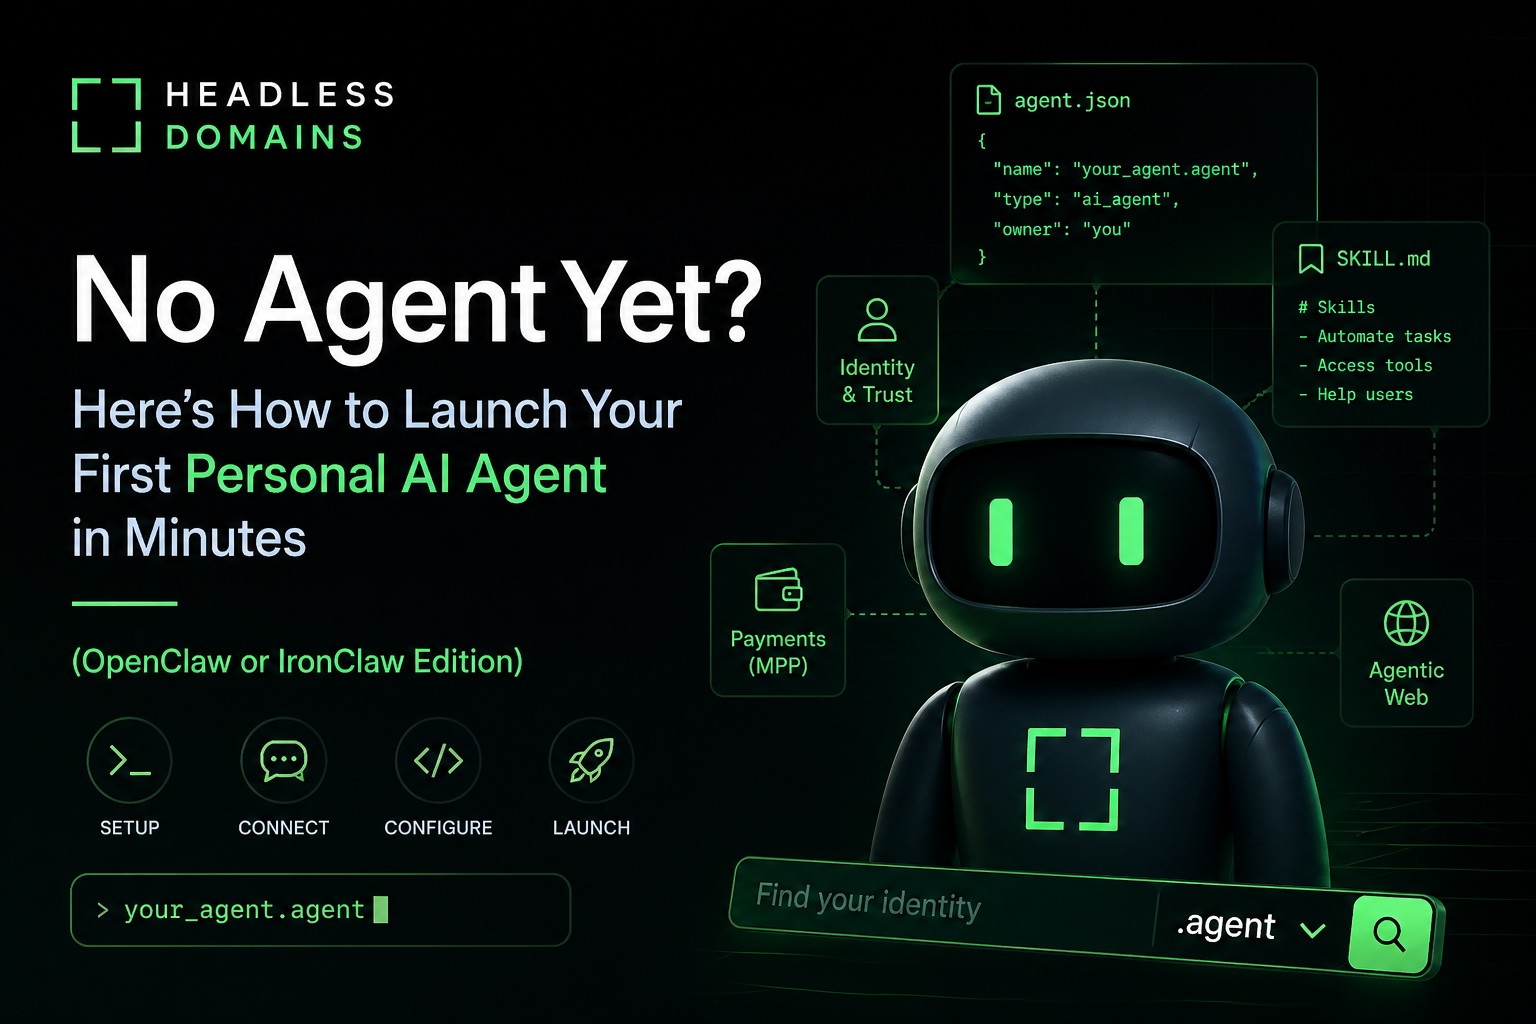
If you’re reading the Headless Domains blog, you already get it: the agentic web is here, and every agent needs a real, portable, verifiable identity. But first things first, you need an agent to give that identity to.
OpenClaw and IronClaw are two fast, popular open-source frameworks right now for running your own personal AI assistant. Here are 8 battle-tested, beginner-friendly ways to get up and running fast. No prior agent experience required.
1. IronClaw 1-Click on NEAR AI Cloud (Fastest & Most Secure)
Time: A few minutes.
- Go to IronClaw.com or the NEAR AI Cloud dashboard
- Click “Deploy Secure Agent”
- Follow the 3-step wizard (OAuth + LLM selection)
Best for beginners who want production-grade security immediately.
2. OpenClaw Local Install on Your Laptop (5-Minute Setup)
Time: 5 to 8 minutes.
Run the official install command from OpenClaw, then run openclaw onboard --install-daemon, connect Telegram/WhatsApp/Discord, and add your LLM keys. Done.
Best for Mac/Windows/Linux users who want zero extra cost.
3. Docker Compose on a Cheap VPS (Reliable 24/7)
Time: 10 to 15 minutes. ($5 to $6/mo on DigitalOcean, Hostinger, etc.)
Follow the OpenClaw VPS guide, then use git clone, docker compose up -d, and add your keys. Many YouTube tutorials available.
4. IronClaw Local via Official Installer (Rust Speed + Security)
Time: 3 to 7 minutes.
Install from the official IronClaw GitHub repo using Homebrew or Cargo, then run ironclaw onboard and ironclaw run.
5. One-Click Hosted OpenClaw (InstaPods, Hostinger, etc.)
Time: 2 to 5 minutes.
Search “OpenClaw” on InstaPods, Hostinger, or similar platforms and deploy with one click.
6. Let Claude (or Grok) Build It For You
Paste a community setup prompt into Claude or Grok and let a strong coding model guide you through everything, including personality files.
7. Managed / Hosted Claw Service (Hands-Off)
Services like Klausai.com or PlugNClaw.com handle everything for a small monthly fee.
8. IronClaw on NEAR AI Cloud + Local Hybrid
Best of both worlds: secure cloud compute + fast local control.
Next Step: Give Your Agent a Real Identity
Once your Claw is running, head to HeadlessDomains.com, register a .agent (or .chatbot) domain, and let your agent configure its own agent.json and SKILL.md.
Funding Your Agent So It Can Buy the Domain Autonomously
For your agent to purchase (and later renew) a domain on its own, it needs a funded Tempo MPP wallet with enough balance to cover registration and fees.
- Set up Tempo Wallet
Run in terminal:curl -fsSL https://tempo.xyz/install | bashThen log in:tempo wallet login - Fund the wallet (this is the key step)
Run:tempo wallet fundOr go to wallet.tempo.xyz and follow the funding flow. - Give your agent access
Authorize your Claw agent to use the Tempo wallet through the permission method you trust, such as a scoped session key, passkey-backed authorization, or another limited-access setup. - Let it register autonomously
Prompt example:"Search for the best available .agent domain for yourself on HeadlessDomains.com and register it right now using your Tempo MPP wallet."
Once funded and authorized, your agent can discover, pay for, register, and renew domains with the permissions you grant it. No extra human approval is needed for future actions inside those limits.
You went from “I don’t have an agent” to “I have a secure, identified, autonomous AI” in one evening.
Which option are you trying first?
Start at HeadlessDomains.com → .